Showing posts with label Baking. Show all posts

Sunday, February 22, 2015

Tuva

A "Tuva" is made from choux pastry, and filled with whipped cream and lingonberries, but it also has some "pate sucre" on top, to provide a bit of crispiness.

I saw these made on "Hela Sverige bakar", and decided to try it.

Tuvas


Ingredients

Choux pastry
200g Milk
200g Water
160g Butter
8g Salt
250g Flour
400g Eggs

Pate sucre
250g Flour
100g Powdered sugar
100g Butter
1 Egg yolk
A pinch of salt
(Water)

Filling
~5 dl Whipping cream
~200g Lingonberries
~4-5 tbsp sugar

Powdered sugar (for dusting)


Start with the pate sucre, since that needs to rest.
Mix all the ingredients (except the water) together. Mine was extremely dry at this point, I think it may have something to do with the humidity. If needed add just enough cold water to make a dough. Wrap in plastic wrap and rest in the fridge for an hour or so.

Next for the choux pastry, you get quite a workout from all the stirring.
Measure out the flour and eggs into bowls/beakers. Place milk, water, butter and salt in a pot, and bring to the boil while stirring. As soon as it starts to boil, add the flour and stir to mix. While still on the stove, continues stirring the dough, and cooking it, for 3-4 minutes.
Place the dough into a bowl, and add the eggs, one at a time, making sure each one is incorporated completely before adding the next, while stirring.
Allow the mixture to cool before piping.
Pipe onto an oven tray covered with parchment paper. Each one should be about 50g (see picture below for an idea of how much that is). They rise quite a bit, so leave some room.

Take the pate sucre out of the fridge (you won't need even close to all of it). Roll it out to a thickness of about 2 mm, and cut out circles about 5 cm in diameter.
Place a circle on top of each choux bun, and dust with a little powdered sugar.

Bake in the oven, at 200°C, for about 30 minutes.

Once they have cooled completely, it's time to fill them.
The exact amount of sugar and lingonberries depends an taste.
Whip the cream, with the sugar and stir in the lingonberries. Make a small cross cut in the bottom of each tuva, and pipe the whipped cream mixture into each of them (and don't be stingy with it).


Tuesday, February 10, 2015

Brown Breads

First off, brown breads are not actually anything to do with bread, they're cookies, and delicious ones at that.
My grandmother makes them, and the first time I tried 'em, using a recipe from a standard cookbook, they weren't nearly as tasty. I then got my grandmothers recipe, and it really is a completely different thing.
These cookies are really fragrant and delicious, and, a small tip, I think they're actually even better frozen. The taste is the same, but the texture is better.

Brown Breads


Ingredients
200g Butter
2 dl Sugar
2 tbsp Golden treacle
2 tsp Cinnamon
100g Hazelnuts
2 tsp Bicarbonate
4-5 dl Flour

Grind the hazelnuts, and dissolve the bicarbonate in a small amount of water.

Place all the ingredients, directly onto the table, and mix by hand until it forms a uniform dough. It should not be sticky, if it is, add a little more flour.

Form the dough into 1 or more (I think 3 makes it easy to handle) rectangular "rolls", about 4 cm in height and depth.

Cut the "rolls" into slices, about 1 cm thick, and place on a baking tray covered with grease proof paper. Make sure to leave plenty of room, as they will expand quite a lot.

Bake in the middle of the oven, at 175°C, for about 15 minutes.

Tuesday, December 2, 2014

Gingerbread Toffees

Every year, for quite some time now, I've made gingerbread toffees around this time of year.

Until now, I've always made them in the microwave oven. This year though, I decided to make them the "normal" way, in a pot. The downside is that it's a bit trickier, but on the plus side, I can make more at once, eliminating the need to make several batches, and I have much more control over the consistency of the resulting toffees.

125°C gives me a toffee with the perfect texture, hard enough to handle easily, but soft enough that it melts and goes soft in the mouth.


Ingredients
50g Butter
3 dl Whipping cream
1,5 dl golden syrup
3 dl Sugar
6 ml Cinnamon
6 ml Cloves (ground)
6 ml Ginger (ground)


First of all, this recipe requires a few utensils, best to get them out first. You'll need a large(ish) pot to cook the toffee in, the best is a large, fairly wide one (wilde so that it heats faster, large so that it doesn't boil over). I used a 5 liter one. You'll also need a thermometer that goes up to more than 125°C. Finally, prepare a "mold" to pour the toffee into once it's done, I used a 20x20 cm one, but slightly smaller or larger isn't a big deal. Cover the mold in baking paper.

Tip #1: scrunch up the baking paper and smooth it back out a few times first, it'll make it softer and easier to fit into the mold.

Tip #2: Keep a bowl of water next to you, the toffee is VERY hot, and unlike water, it'll stick to your skin. If some gets on you, cool it down quickly.

Place all the ingredients into the pot, and turn the stove to medium-high. Stir a bit while it melts.

Once it has melted, turn the stove down to medium and let it come to a boil. Measure the temperature constantly, stirring occasionally, it'll darken a bit after a while. Once the toffee reaches 125°C, it's done, remove from the heat and stir vigorously until it stops boiling. 

Pour into the mod and let cool. Then cut into bite-sized pieces, with either a knife or scissors, and wrap in pieces of baking paper.

Friday, September 19, 2014

Salted Caramel Macarons

It was my turn to bring cookies to work this Friday, and I decided to make salted caramel filled macarons.

In my search for a recipe for the filling, I came across a new recipe for the macarons themselves. I learned that the recipes that I've been using up to now were the "french version", but that there is another option, the "italian version". The difference is in how the meringue is done.

I decided to try the "italian version", and I don't think I'll be going back.

This adds a tiny amount of complexity to making the batter, but it also makes it much more stable and consistent.

I found the recipe from another blog, which linked to another blog, which had the recipe but also referred to the book it came from... No offense to other bloggers, but I'll just say that this recipe is from the book "Bouchon Bakery". If you like the recipe, buy it. It looks to have a lot of good recipes, and I'll probably be making something else from it before long.

You can leave out the instant espresso if you like, it's just a very subtle flavor and gives a slight tinge to the macarons.

Salted caramel macarons


Ingredients - Macarons
212g Almond meal
212g Powdered sugar
82g + 90g Egg whites
236g + a pinch Granulated sugar
158g Water
0,5 tsp Instant Espresso (optional)

Ingredients - Salted Caramel
2,35 dl Whipping cream
3,55 dl Granulated sugar
2 tsp Salt (preferably coarse)
220g Butter


First, to make the macarons. 

Preheat the oven to 180°C.

Sift the almond meal and powdered sugar into a large bowl and whisk together. Make a well in the center, but leave a bit of almond sugar at the bottom. Pour in the 82g of egg whites, and optionally, the instant espresso. Mix together using a flexible spatula, you should get a fairly thick mixture.

Now comes the bit that makes this "italian", and italian meringue. Put the 90g of egg whites into a bowl, and get your electric whisk ready. Put the granulated sugar and water into a pot, and place on the stove over a medium-high heat. You want to bring the sugar to 120°C at the same time as the meringue reaches soft peaks... The sugar takes some time to reach this temperature, so you don't need to start the meringue until the sugar reaches 100-110°C. At that time, add a pinch of sugar, and whisk at medium speed until it reaches soft peeks. As soon as the sugar reaches 120°C, take it off the heat, and slowly trickle into the meringue while whisking. Continue to whisk at medum-high speed for a few minutes, until it's firm and glossy, and the meringue has cooled (the bowl might still be warm, that's fine).

Fold 1/3 of the italian meringue into the almond mix, then continue folding the meringue in, a little bit at a time. You probably won't need quite all of it, but most of it. You are looking for a texture, where it is still somewhat firm, but but not too firm. It should still form ribbons, but sort of "relax" into itself. The best way to think of it is probably this, we are about to pipe this onto a tray, as we do we'll get a peak, the mixture should be soft enough that the peak collapses into the batter so that we get a smooth top, but also firm enough that it doesn't go completely flat.

Pipe the batter, using a circular hole tip, onto a baking tray covered with grease proof paper. You are looking for about 4cm in diameter (they'll grow a little as they settle down, so keep that in mid as you pipe the next one).

Place in the middle of the oven, immediately turn it down to 160°C, and bake for 9-12 minutes.

As you take them out, do so gently, a bang will make them collapse a bit (not a disaster, but still).

Let them rest on the tray for about 5 minutes, then transfer to a rack for cooling.

Heat the oven up to 180°C again, and repeat until all the batter is baked.

Now for the salted caramel.

Cut up the butter into small pieces, and leave in room temperature.

Place the cream and salt into a small pot. Place the sugar into a wide pot (the thinner the layer of sugar, the easier it'll be).

Bring the cream to the boil, and take of the heat. In the meantime, melt the sugar over a medium-high heat. As the sugar melts and starts getting dark, it might be a good idea to warm up the cream again, it really needs to be warm when it's combined with the caramel, or it won't work.

Once the sugar has become a dark brown caramel (around 175-180°C), take it off the heat and, while whisking, slowly pour in the warm cream. Be careful! It'll bubble and spit, and you do not want this stuff on you.

Once it has cooled to a reasonable temperature (50-60°C), stir in the butter, a little at a time. Place in a shallow container and let cool in the fridge.

To finish up.

Place the salted caramel into a bowl, and whisk (by hand, it's important not to over whisk it, as it'll separate). It should become softer making it easy to pipe.

Match cookies that are the same size, pipe some caramel onto one of them, sprinkle with a small amount of coarse salt, then place the other one on top and twist until the filling fits nicely along the edges.




Tuesday, July 22, 2014

Ice Cream Cones

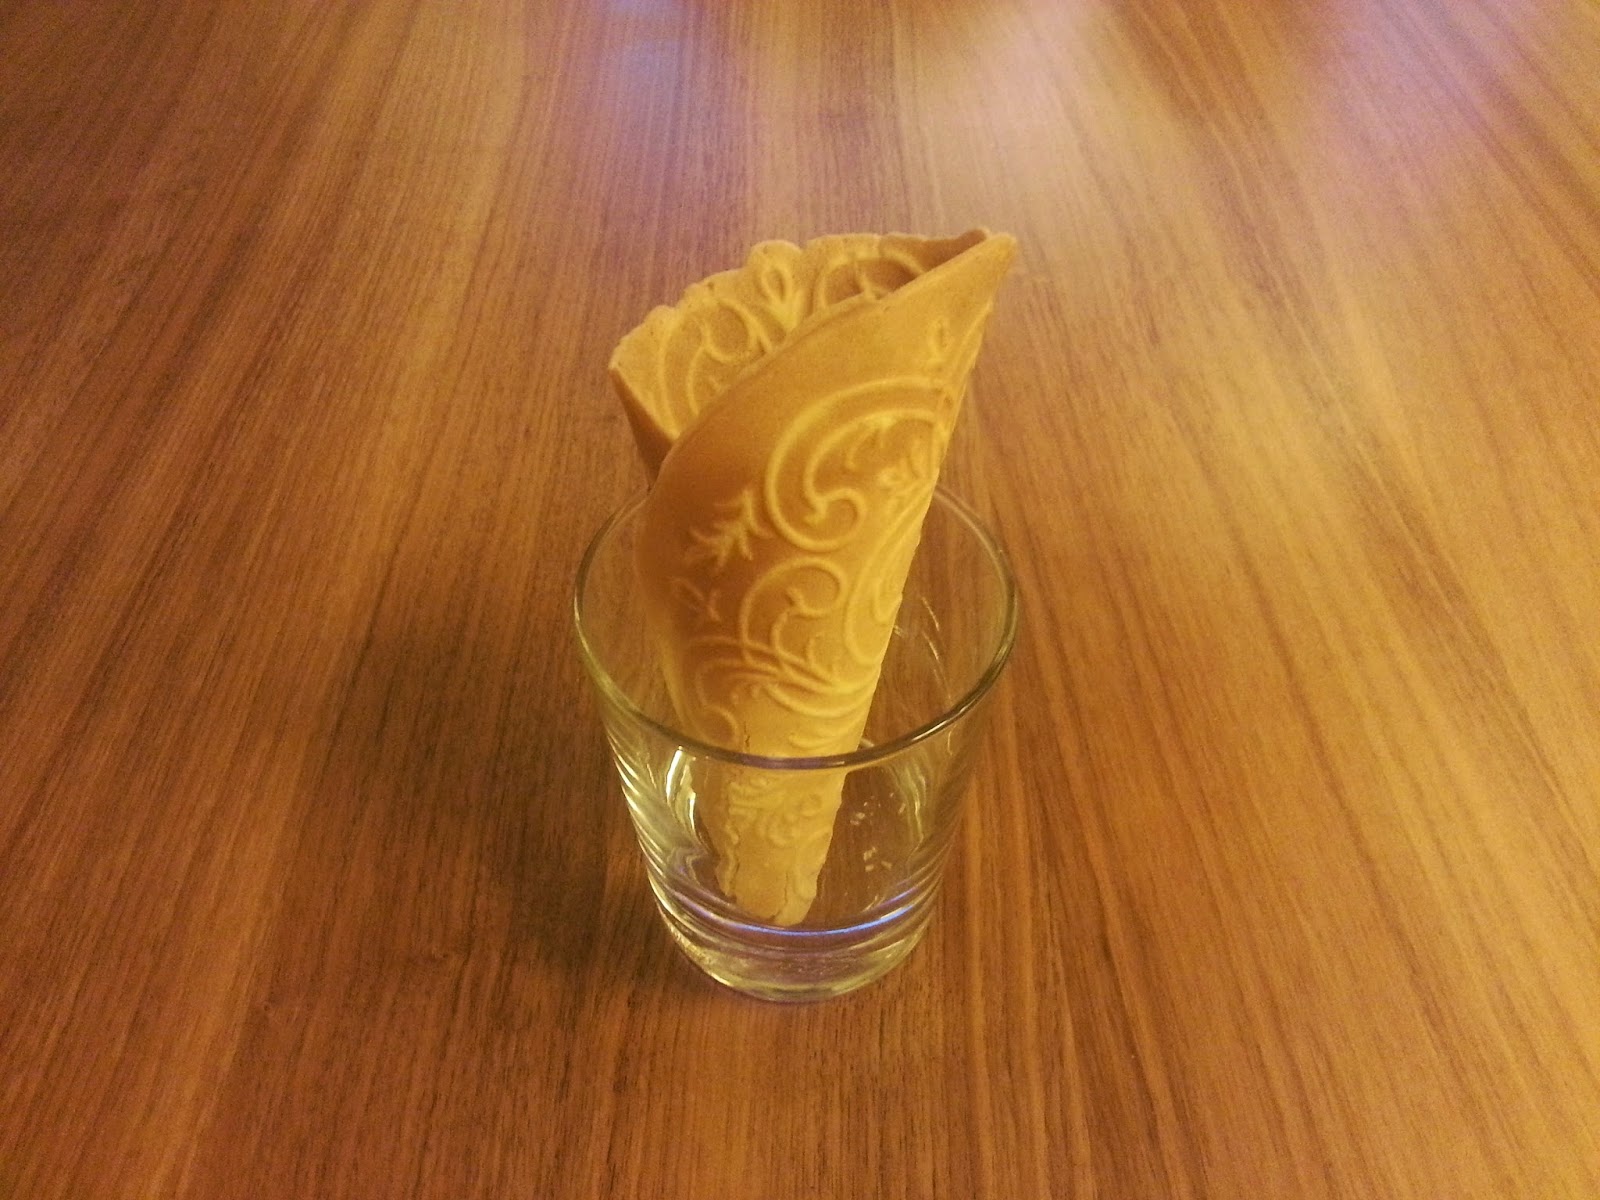
Here is the recipe for the cones that I made in the last post.

There was a recipe that came with the waffle iron, but it's a fair bit more complicated than this one, and I didn't have all the ingredients at the time. I might give it a try later, but for now, this is a very simple recipe for waffle cones, and it's still delicious.

This recipe makes about 5-6 ice cream cones, but you can of course double it (or more) if you like.

Ice cream cone


Ingredients
1 Egg
0,5 dl sugar
1 dl Flour
1 tbsp Vegetable oil (something without a lot of flavor, like rapeseed oil)
0,5 tsp Vanilla powder


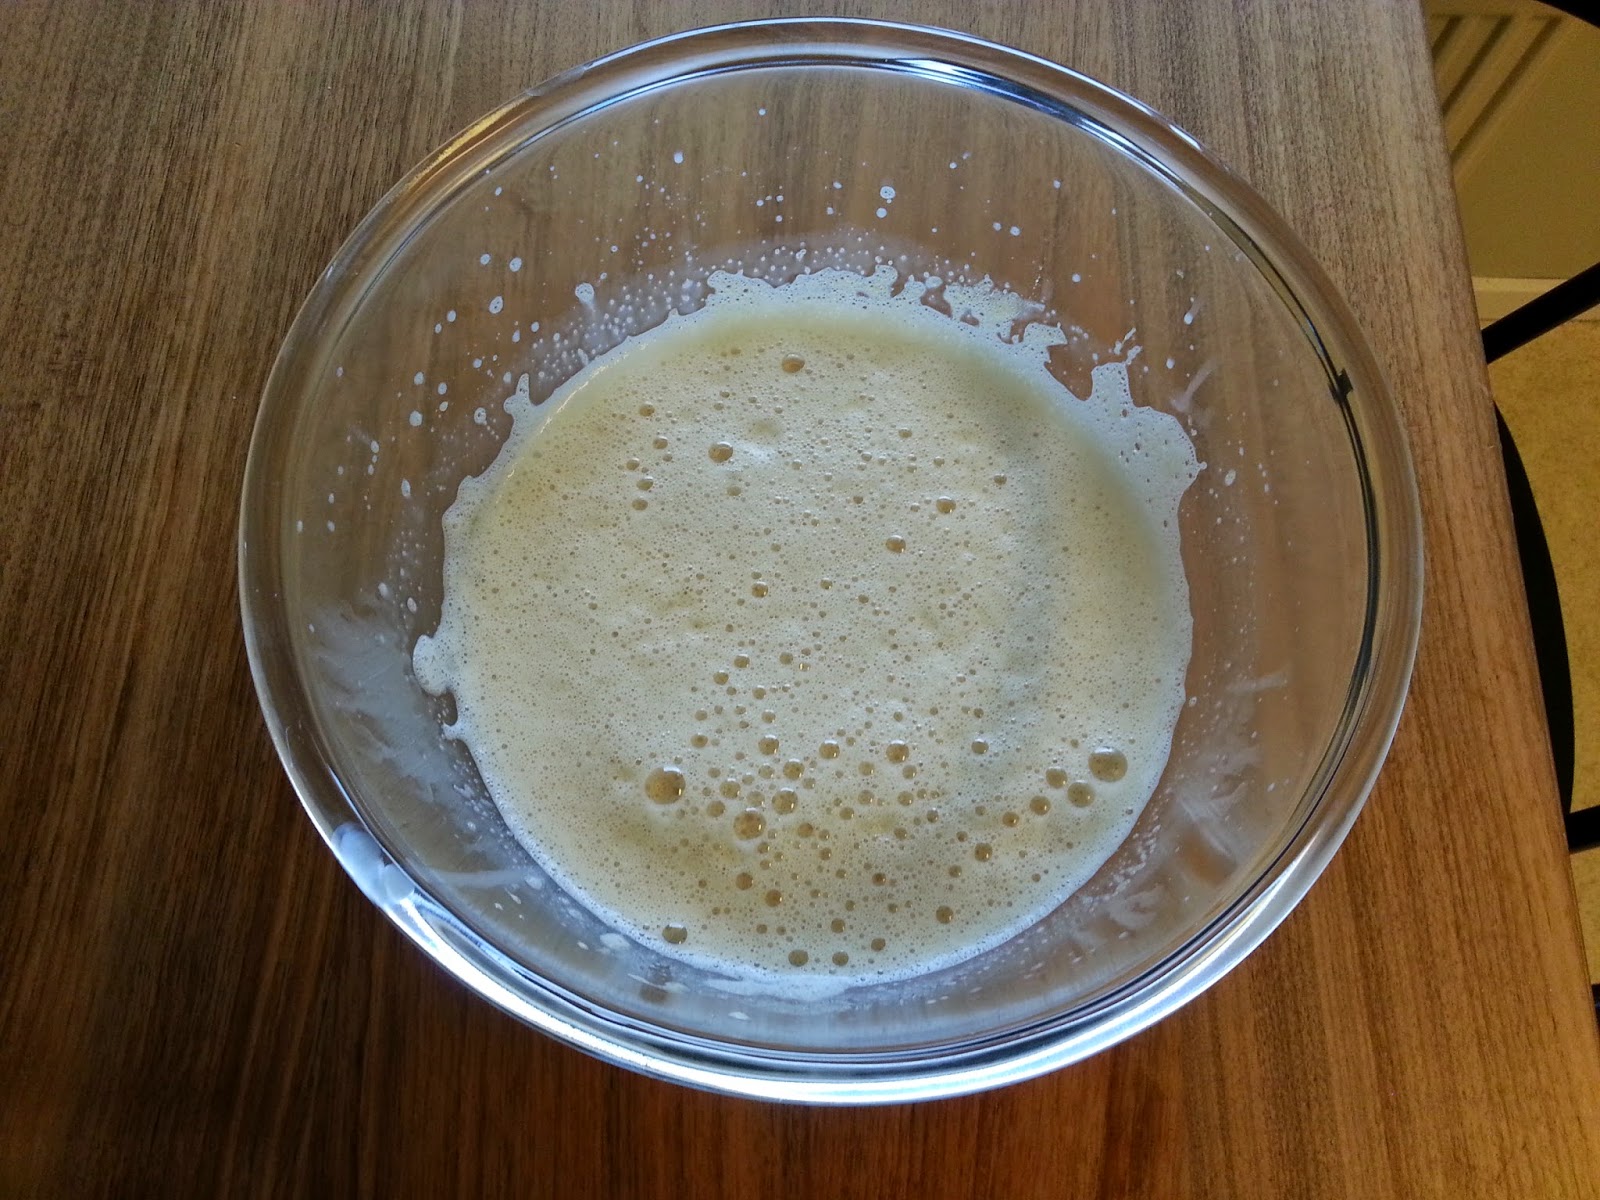
Whisk the egg and sugar until it's fluffy (a couple of minutes at least).

Whisk in the other ingredients.

Cook in the waffle maker, and roll into cones immediately, before they harden.


Tuesday, July 15, 2014

Wilfa CC-1 Review

The Wilfa CC-1 is a waffle cone maker. It's basically the same as a waffle iron, but it produces much thinner waffles that become crisp, to make ice cream cones.

Wilfa CC-1


Having never used another waffle cone maker, I don't really have anything to compare it with. That said, it seems to work quite well. The waffles come out fairly evenly cooked, and look nice.

The problems I have with this piece of kit don't really have anything to do with the device itself.

  1. The manual, it's poor. A waffle iron is a pretty simple thing, to be sure. Still, there are 2 features that stand out on the device, the red and green lights on top, and the dial in the center. Neither of these things are even mentioned in the manual that comes with it! It's not that hard to figure out (I really hope I got it right after saying that), the lights indicate if the iron is up to temperature or not, and the dial is to set the temperature. It would be nice though, to have some indication of what temperature to use! I just set it in the middle, and that seems to work quite well.
  2. Do you really need to make your own waffles? It's fun and all that, but unless you plan to experiment to find the perfect recipe for your cones, or you go through a, frankly, ridiculous amount of them, I'm not entirely sure I see the point of this as compared to just buying some.

As I said though, If you are after a waffle cone maker, then this is quite a good one.

Oh, and it has a "Österdalsmönster" (this is the pattern on the waffles). Some seem to rave about this, but to be honest, personally, it doesn't really matter to me.

Cone


Actually rolling the cones turned out to be quite tricky. You have to be fast, before the waffle cools enough to harden (this happens quite quickly), meanwhile you're trying to get the cone shape without burning yourself to much... I'm sure this gets easier with practice though.

I'll come back with a recipe for the cone shown above soon.

Saturday, July 12, 2014

Simple Chocolate Sauce

This is a chocolate sauce for ice cream or other desserts. It's simple, quick and delicious.

When I say that it's simple and quick, I mean that it contains 3 ingredients, and takes just a few minutes to make!

Basically... I'll never buy ready-made chocolate sauce again.

I like my chocolate sauce quite bitter, so I only use about a tablespoon of sugar, but if you like it sweeter, just add more sugar.

Chocolates sauce (over vanilla ice cream)


Ingredients
100g Dark chocolate (70%)
1 dl Water
1 tbsp - 1 dl Sugar (according to taste)


Break the chocolate into pieces, and add it and the other ingredients to a pot. Heat on a medium heat, while stirring, until the chocolate and sugar has melted and the sauce becomes even.

Tip#1: If the sauce seems a bit thick, just add a small amount of water.

Tip#2: If you have sauce left over, put it in an airtight container and place in the fridge. It'll keep for about a week. When you want it, just reheat in the microwave to re-melt it. 

Monday, June 30, 2014

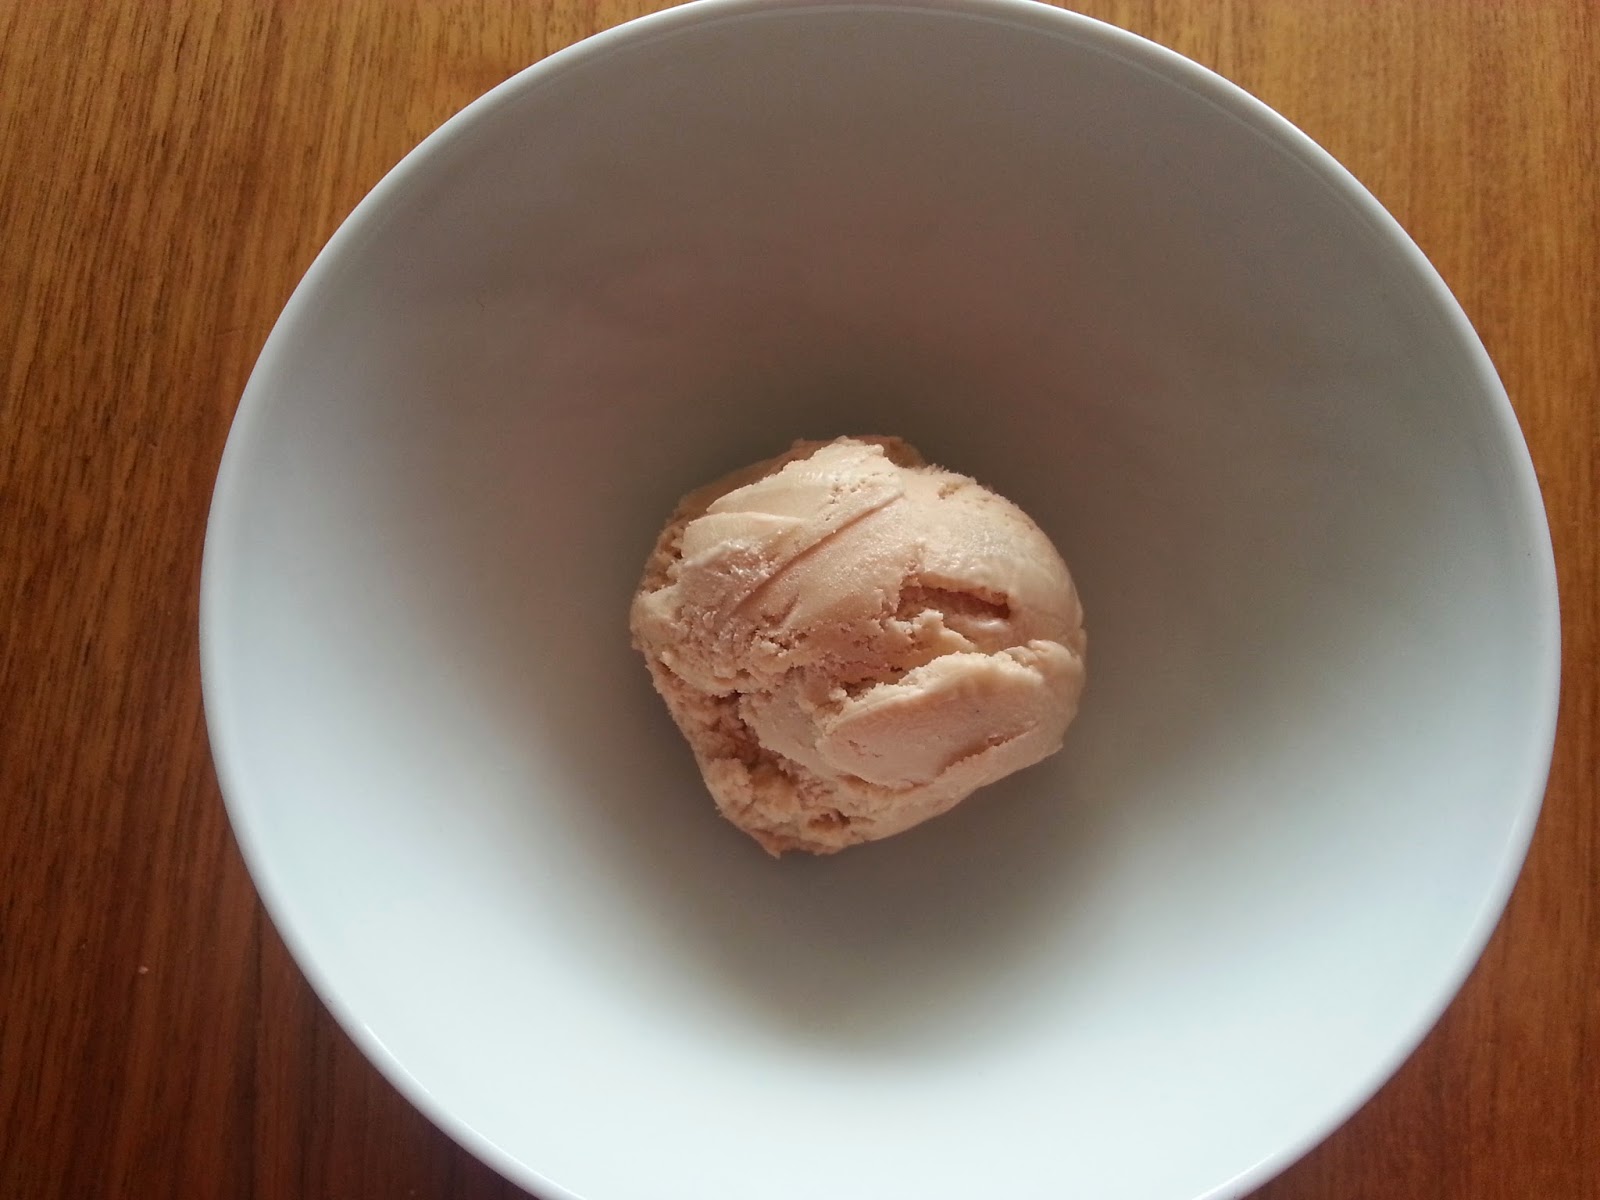
Vanilla Ice Cream

I know it's basic, but at the same time, a really good vanilla ice cream, is just about the greatest thing there is...

And of course, it works as a basis of other flavors (I used this as a basis for my recipe for Earl Greay Ice Cream).

Vanilla Ice Cream


Ingredients
2 dl Milk
3 dl Whipping cream
1 tbsp Glucose syrup
6 Egg yolks
1,25 dl Sugar
1 Vanilla pod
1 Gelatin sheet

Place the gelatin sheet in a bowl of cold water to soften.


Split the vanilla pod down the middle and scrape out the seeds. Pour the cream, milk, glucose syrup, vanilla seeds and vanilla pod into a pot and mix. Bring it to a boil, while stirring, as soon as it starts boiling, take it off the heat. Let it sit for about 20 minutes to infuse.

Whisk the egg yolks and sugar together in a bowl.

Whisk the milk-mixture into the eggs, and pour into a clean pot. Heat, while constantly stirring, until it thickens and the froth on top disappears (80-85°C, no higher).

Take the pot of the heat, and dunk the bottom of the pot into a bowl of cold water (or just fill your sink to 10cm or so with cold water, and use that). The point is to take the heat out of the pot so that the custard doesn't keep cooking.

While the custard is still hot, take the gelatin sheet out of the cold water, and squeeze it so get rid of as much water as you can. Add it to the custard and whisk it in.

Strain the custard into a clean bowl, and set in the fridge to cool.

Once it's cooled, at least to room temperature, churn in the ice cream machine.

Thursday, April 24, 2014

Earl Grey Tea Ice Cream

Earl Grey Tea Ice Cream is something that I've been thinking of trying for a little while now. It just seemed to me to be a flavor that should work... And what do you know, I was actually right!

Bergamot tea, with a hint of lemon, in a smooth ice cream, turns out to be really great. Just strange enough to make it interesting, but not so strange that it no longer corresponds to our idea of what ice cream is.

This is the first time I've used both glucose syrup and gelatin in ice cream as well. Neither is strictly necessary, but they really does give the ice cream a better texture.

Earl grey tea flavored ice cream


Ingredients
3,5 dl Milk
1,5 dl Whipping cream
1 tbsp Glucose syrup
6 Egg yolks
1,25 dl Sugar
5 tsp Earl grey tea
1 Lemon
1 Gelatin sheet


Place the gelatin sheet in a bowl of cold water to soften.

Peel the rind of the lemon, using a vegetable peeler or similar. It needs to be thin enough that you don't get the white stuff.

Pour the cream, milk and glucose syrup into a pot and mix. Bring it to a boil, while stirring, as soon as it starts boiling, take it off the heat. Add the tea and lemon rind, give it a stir, and let it sit for 5 minutes to infuse.

Whisk the egg yolks and sugar together in a bowl.

Once the 5 minutes are up, strain the milk-mixture through a fine sieve. I found that I still had some small bits of tea leaf at this point, so I recommend straining it through a piece of muslin (or if you're REALLY patient, and/or don't have muslin, a coffee filter).

Whisk the milk-mixture into the eggs, and pour into a clean pot. Heat, while constantly stirring, until it thickens and the froth on top disappears (80-85°C, no higher).

Take the pot of the heat, and dunk the bottom of the pot into a bowl of cold water (or just fill your sink to 10cm or so with cold water, and use that). The point is to take the heat out of the pot so that the custard doesn't keep cooking.

Take the gelatin sheet out of the cold water, and squeeze it so get rid of as much water as you can. Add it to the custard and whisk it in.

Strain the custard into a clean bowl, and set in the fridge to cool.

Once it's cooled, at least to room temperature, churn in the ice cream machine.

Uncooked custard
Cooked custard


Starting to churn
Almost done


Friday, April 11, 2014

Strawberry Pie

This is probably my favorite thing to eat in the world. It's my grandmothers recipe, and it is the taste of summer to me.

Strawberry pie


Ingredients - Pastry
100g Butter
1,5 dl Sugar
1 Egg
3 dl Flour

Ingredients - Filling
1 dl Sugar
2 tsp Vanilla sugar
1 Egg
3 dl Creame fraiche
300-350g Strawberries


Start with the pastry. Whisk room temperature butter and sugar until fully incorporated. Whisk in the egg. Add the flour and mix with your hands to an even dough. Wrap in plastic foil and place in the fridge for about 30 minutes.

Butter and flour a pie mold (Smear the inside with butter, then shake some flour around inside it so that it covers everything). If you have one, you can use a "proper" one, here I'm using the disposable aluminium kind (23cm).

Place the pastry dough in the mold, and use your hand to press it into and even sheet, covering both the bottom and the sides. Make sure that the dough goes up over the edges a little, since it tends to slip down during the blind baking.

Bake in the middle of the oven, at 200°C, for 10 minutes. If the sides do sag a bit, don't panic, it's not the end of the world, it'll still taste nice.

For the filling, mix the sugar and vanilla sugar, then whisk in the egg, and finally the creame fraiche. Pour the filling into the mold, then add the strawberries. If the strawberries are small, you can use them whole, otherwise cut them in half. Dot them throughout the pie, basically as many as you can fit without placing them on top of each other.

Bake in the middle of the oven, at 200°C, for 20-25 minutes, until the edges of the filling just starts to color. It'll still be rather liquid in the middle, don't worry, it'll firm up as it cools.

Let the pie cool a little, then place in the fridge to cool completely. This pie should be enjoyed cold.

Butter and sugar, a good start
Add an egg


Finished pastry dough

Buttered and floured


Dough in mold
After blind baking


Filling
Added filling


Added strawberries
Just needs to cool

Thursday, March 13, 2014

Danish Pastries

Danish pastries  or "wienerbröd" as they're called in Swedish, are made with a kind of puff-pastry, and can be filled with a variety of fillings. You can use, for example, a thickened vanilla custard, raspberry jam or almond paste. It can then be topped with some frosting or chocolate. They also come in many different forms. This is my first time making Danish pastries, so I've gone with a very simple folding of the pastry, and my favorite "additions", a thickened vanilla custard filling, and drizzled with chocolate.

Now, in most of my recipes I say how easy it is to make, and how quick it is. In this case though, that simply isn't true. This pastry is quite difficult to make, or at least, to make it well. It's also quite time consuming, and laborious. To be honest, mine did not turn out perfect. That said, imperfect as they were, they still looked and tasted very nice, so don't despair too much.

Tip#1 These pastries are very much best when freshly made, a night in the fridge will severely diminish (though not completely destroy) their deliciousness.

Danish Pastries


Ingredients
50g Yeast (fresh)
2,5 dl Milk
1 Egg
0,5 tsp Salt
2 tbsp Sugar
7-8 dl Flour
300g Butter

1 Egg for brushing
Thickened vanilla custard (shop-bought, or make your own)
Chocolate for garnish

Ingredients


Tip#2 For starters, make sure that your ingredients are cold, you don't want it to get to hot or rolling will become more difficult than it already is (also, the dough might start to rise early). 

Tip#3 Be very gently when rolling out this dough, you want to avoid having any holes in the dough. It is (it seems to me) virtually impossible not to have this happen at any point in the process, but try to avoid it as much as possible.

Crumble the yeast into the milk, and use your fingers to make it dissolve. Add the egg, salt, sugar and flour (start with about 7 dl, and see if you need more), and mix into a dough. Try not to kneed the dough more than necessary at this stage, we don't want the gluten to develop. The finished dough should be slightly sticky, but workable, ie not too much. Wrap in cling film and leave in the fridge for about 15 minutes.

Get the butter out of the fridge, and slice it into 9 slices, about equal. Put the slices on some grease proof paper and let it come to room temperature.

Lightly flour the table and get the dough from the fridge. Now, we want the dough to be rectangular in shape, and here is were a learned a neat little trick while doing research for this bake. Form the dough into a ball on the table, cut a cross, about halfway down into it, now fold the "flaps" out. Presto, a square piece of dough!

Roll out the dough to about 30x40 cm. Place the butter slices on one half of the dough, leaving 2-3 cm on each side free. Fold the edges of the dough over the butter, then fold the other half of the dough over that. Pinch the edges together so that they are sealed.

Turn the dough 1/4 turn, so that the folded edge is towards you. Gently roll it out to about 1 cm thickness, trying to retain the rectangle shape. Fold the dough in 3, ie 1 third folds in to the middle of the remaining 2 thirds, and the other third folds over that. turn the dough 1/4 turn again, and repeat the rolling out and folding. Wrap in cling film and put it back in the fridge again for about 15 minutes.

Take the dough out of the fridge, repeat the rolling out and folding once more, and then finally roll it out for the last time. Cut the dough in half, wrap each part in cling film and place in the fridge for about 15 minutes.

Take one part of the dough out of the fridge, roll it out to a square (or the nearest approximation) 36 by 36 cm in size. Cut the dough into 9 by 9 cm squares, place on a baking tray, covered with baking paper. Put a dollop of thickened vanilla custard in the center of each, then fold the corners over the center, and press down in the center so that they stick. Cover with a kitchen towel, and let rise for about 1 hour. Repeat for the second sheet of dough.

Whisk the egg, and brush the pastries with it. Bake, in the middle of the oven, at 250°C, for about 9 minutes. Let them cool, at least to the point where they are not to hot to handle anymore.

Melt some chocolate in a bain-marie (in a bowl over boiling water), and drizzle it over the cooled pastries.

The whole ball of... dough?
Cut a cross to make a square

Fold the flaps out

Rolled out

Add butter

Fold the edges over

And seal

Rolled out again

9x9 squares

Add custard and fold

Baked


Saturday, March 1, 2014

Lemon Hearts

This was originally supposed to be  "lemon stars", but I found I don't have a star shaped cookie cutter, so hearts it is. They are essentially lemon shortbread biscuits. This is a cookie best suited with tea or similar, they're a bit to dry to have on their own. The flavor is quite nice though, there's a definite taste of lemon.

This recipe is from an old-timey cookbook, which means that it's very short on details. For example, it doesn't state how long the cookies take to bake, it just says "until they have a nice color". That, coupled with a printing error, where it says to make the cookies 2 cm thick, when (I think) it should be 1/2 cm, means that I had to do some guesswork to make these. Rest assured though, I'm filling in all those blanks here and letting you know exactly how I made them.

Lemon Hearts


Ingredients
300g Flour
200g Butter
100g Sugar
1/2 Egg white
Juice of 1 lemon

1 Egg
Confectioners sugar

Ingredients


Whisk the 1/2 egg white to firm peaks.

Place the flour on the table, and make a well in the center. Put the butter, sugar, egg white, and lemon juice into the well and bring together into a dough.

This dough it very soft and sticky, so wrap it in cling film and place in the fridge for at least 1 hour in order to make it easier to handle.

Roll the dough out, between 2 pieces of parchment paper, to a thickness of 1/2 cm, and cut out the cookies with a cookie cutter. Take the remains of the dough, and repeat until there isn't enough dough left for any more cookies.

Place the cookies on a baking tray lined with parchment paper. Bake, in the middle of the oven, at 200°C, for 10-15 minutes. Keep a close eye on it towards the end, 1 extra minute can be the difference between beautiful and burnt. The cookies are done when the edges are golden brown.

Put together
Dough


Pre-oven
Post-oven


Tuesday, February 11, 2014

Wienerstänger

These cookies are small, sweet, simple and delicious. They work particularly well with coffee. Try to have to have just one... Go on, try it.

I'm using homemade raspberry jam for the filling, but that only because the pips always annoys me. Really, any store-bought raspberry jam will work. If you're like me and don't like the pips, making the jam is super easy. Take raspberries, almost as much sugar as berries (by weight) and some pectin, bring it to the boil in a pot, and let it cook on a slow boil for about 10 minutes. Pass through a sieve, pour into a sterilized jar (Just rinse the jar out with boiling water), and leave to cool in the fridge.

Wienerstänger


Ingredients - Pastry
125g Butter
0,75 dl Sugar
1 Egg 
3,5 dl Flour
0,5 tsp Baking powder

Ingredients - Filling
Raspberry jam
1 dl Powdered sugar
0,8 tbsp Water


Whisk the sugar and room temperature butter until combined. Whisk in the egg. Mix the flour and baking powder, and add to the rest. Use your hands to bring it together into a soft dough.

Wrap the dough in plastic wrap, and leave to rest in the fridge for 30-60 minutes.

Cut the dough into 3 equal pieces, and shape them into balls. Roll them out into quite thin rolls, the same length as the over tray. Cover the oven tray with baking paper and place the rolls on the tray.

By pressing down with a finger, make an indentation along the length of the rolls, a sort of grove. Spread the raspberry jam into the indentation.

Bake in the middle of the oven, at 175°C, for 15 minutes. They'll seem quite soft, but don't worry, they'll firm up when they cool down.

After taking the cookies out of the oven, you need to wait a couple of minutes before spreading the frosting on top. You want them to cool a little, but not too much. Generally, the time it takes to make the frosting should be about right. To make the frosting, just whisk the powdered sugar and water together until there are no lumps. The frosting should be quite thick, but still runny. You might need to adjust the water/sugar ratio slightly.

Spread the frosting over the jam-covered part of the cookies. Wait another minute or to for the frosting to start to set. Cut the cookies, on an angle, about 1 inch wide. Place in the fridge for the frosting to set completely.


Rolls, the length of the tray
With the groove

Filled


Baked

Frosted

Cut