Showing posts with label Ice cream. Show all posts

Tuesday, July 22, 2014

Ice Cream Cones

Here is the recipe for the cones that I made in the last post.

There was a recipe that came with the waffle iron, but it's a fair bit more complicated than this one, and I didn't have all the ingredients at the time. I might give it a try later, but for now, this is a very simple recipe for waffle cones, and it's still delicious.

This recipe makes about 5-6 ice cream cones, but you can of course double it (or more) if you like.

Ice cream cone


Ingredients
1 Egg
0,5 dl sugar
1 dl Flour
1 tbsp Vegetable oil (something without a lot of flavor, like rapeseed oil)
0,5 tsp Vanilla powder


Whisk the egg and sugar until it's fluffy (a couple of minutes at least).

Whisk in the other ingredients.

Cook in the waffle maker, and roll into cones immediately, before they harden.


Tuesday, July 15, 2014

Wilfa CC-1 Review

The Wilfa CC-1 is a waffle cone maker. It's basically the same as a waffle iron, but it produces much thinner waffles that become crisp, to make ice cream cones.

Wilfa CC-1


Having never used another waffle cone maker, I don't really have anything to compare it with. That said, it seems to work quite well. The waffles come out fairly evenly cooked, and look nice.

The problems I have with this piece of kit don't really have anything to do with the device itself.

  1. The manual, it's poor. A waffle iron is a pretty simple thing, to be sure. Still, there are 2 features that stand out on the device, the red and green lights on top, and the dial in the center. Neither of these things are even mentioned in the manual that comes with it! It's not that hard to figure out (I really hope I got it right after saying that), the lights indicate if the iron is up to temperature or not, and the dial is to set the temperature. It would be nice though, to have some indication of what temperature to use! I just set it in the middle, and that seems to work quite well.
  2. Do you really need to make your own waffles? It's fun and all that, but unless you plan to experiment to find the perfect recipe for your cones, or you go through a, frankly, ridiculous amount of them, I'm not entirely sure I see the point of this as compared to just buying some.

As I said though, If you are after a waffle cone maker, then this is quite a good one.

Oh, and it has a "Österdalsmönster" (this is the pattern on the waffles). Some seem to rave about this, but to be honest, personally, it doesn't really matter to me.

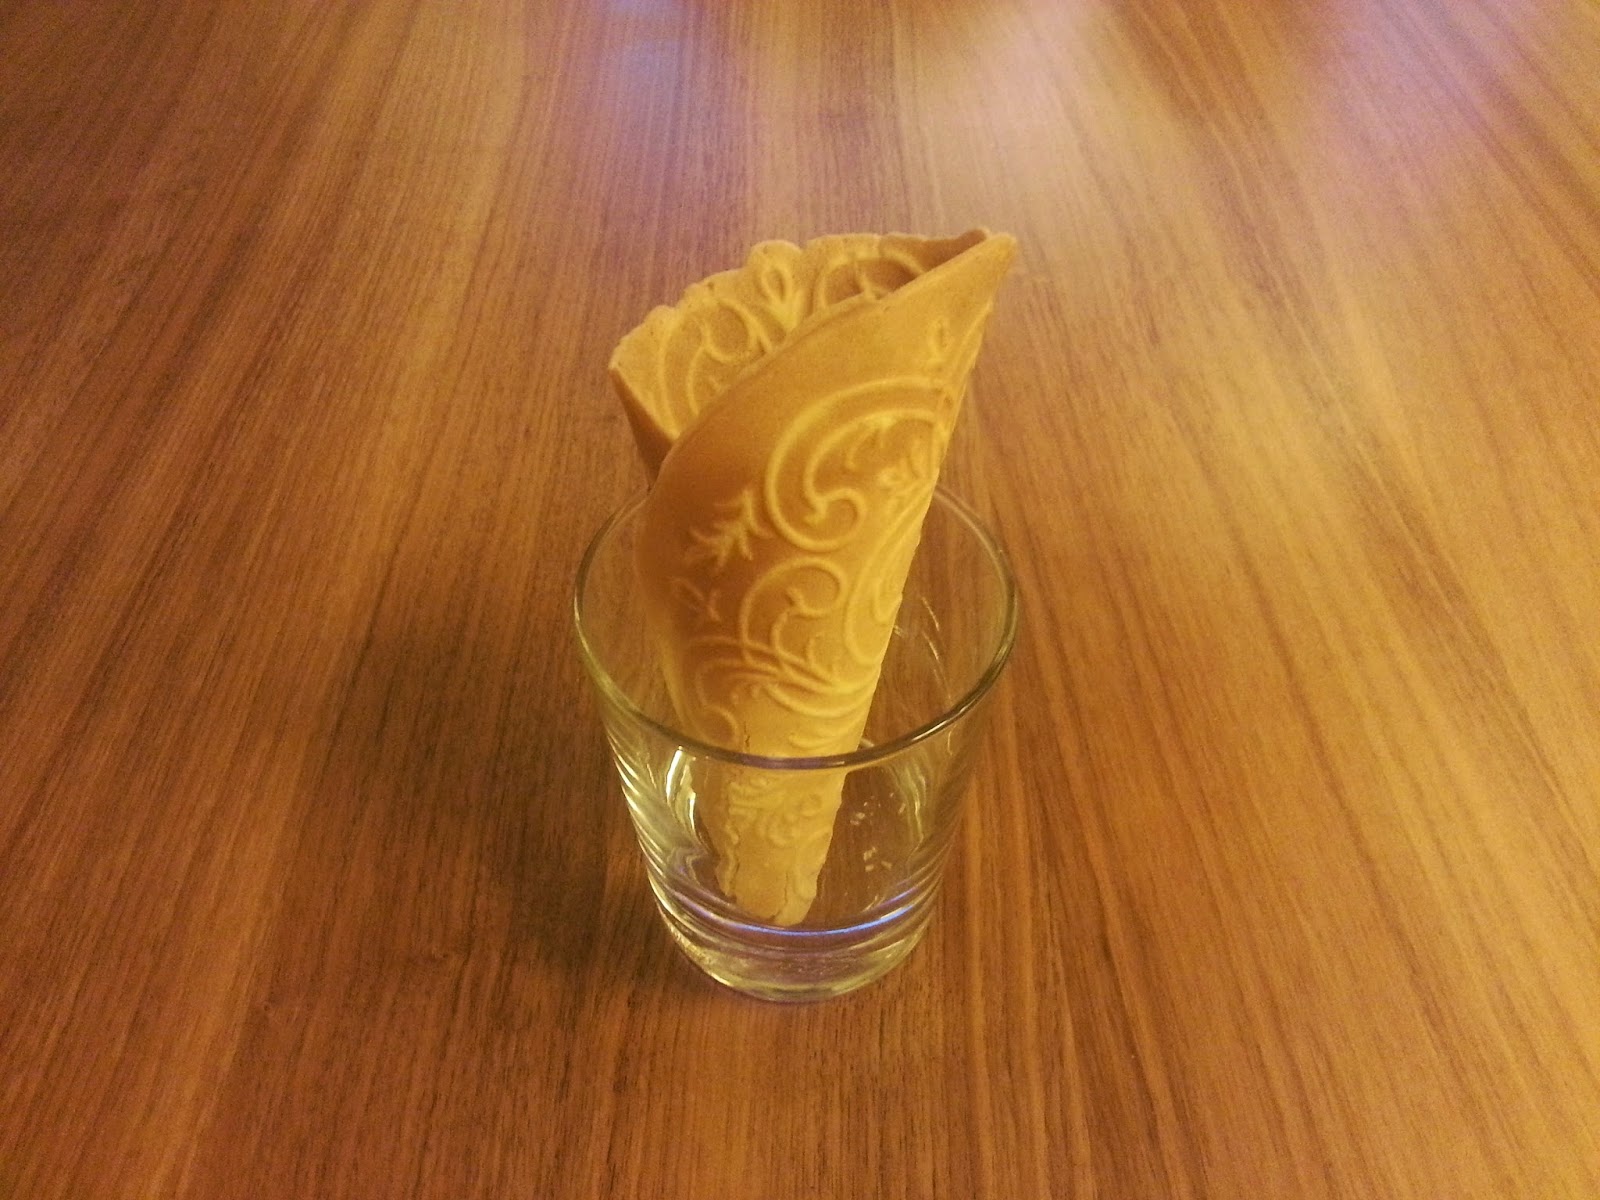
Cone


Actually rolling the cones turned out to be quite tricky. You have to be fast, before the waffle cools enough to harden (this happens quite quickly), meanwhile you're trying to get the cone shape without burning yourself to much... I'm sure this gets easier with practice though.

I'll come back with a recipe for the cone shown above soon.

Monday, June 30, 2014

Vanilla Ice Cream

I know it's basic, but at the same time, a really good vanilla ice cream, is just about the greatest thing there is...

And of course, it works as a basis of other flavors (I used this as a basis for my recipe for Earl Greay Ice Cream).

Vanilla Ice Cream


Ingredients
2 dl Milk
3 dl Whipping cream
1 tbsp Glucose syrup
6 Egg yolks
1,25 dl Sugar
1 Vanilla pod
1 Gelatin sheet

Place the gelatin sheet in a bowl of cold water to soften.


Split the vanilla pod down the middle and scrape out the seeds. Pour the cream, milk, glucose syrup, vanilla seeds and vanilla pod into a pot and mix. Bring it to a boil, while stirring, as soon as it starts boiling, take it off the heat. Let it sit for about 20 minutes to infuse.

Whisk the egg yolks and sugar together in a bowl.

Whisk the milk-mixture into the eggs, and pour into a clean pot. Heat, while constantly stirring, until it thickens and the froth on top disappears (80-85°C, no higher).

Take the pot of the heat, and dunk the bottom of the pot into a bowl of cold water (or just fill your sink to 10cm or so with cold water, and use that). The point is to take the heat out of the pot so that the custard doesn't keep cooking.

While the custard is still hot, take the gelatin sheet out of the cold water, and squeeze it so get rid of as much water as you can. Add it to the custard and whisk it in.

Strain the custard into a clean bowl, and set in the fridge to cool.

Once it's cooled, at least to room temperature, churn in the ice cream machine.

Thursday, April 24, 2014

Earl Grey Tea Ice Cream

Earl Grey Tea Ice Cream is something that I've been thinking of trying for a little while now. It just seemed to me to be a flavor that should work... And what do you know, I was actually right!

Bergamot tea, with a hint of lemon, in a smooth ice cream, turns out to be really great. Just strange enough to make it interesting, but not so strange that it no longer corresponds to our idea of what ice cream is.

This is the first time I've used both glucose syrup and gelatin in ice cream as well. Neither is strictly necessary, but they really does give the ice cream a better texture.
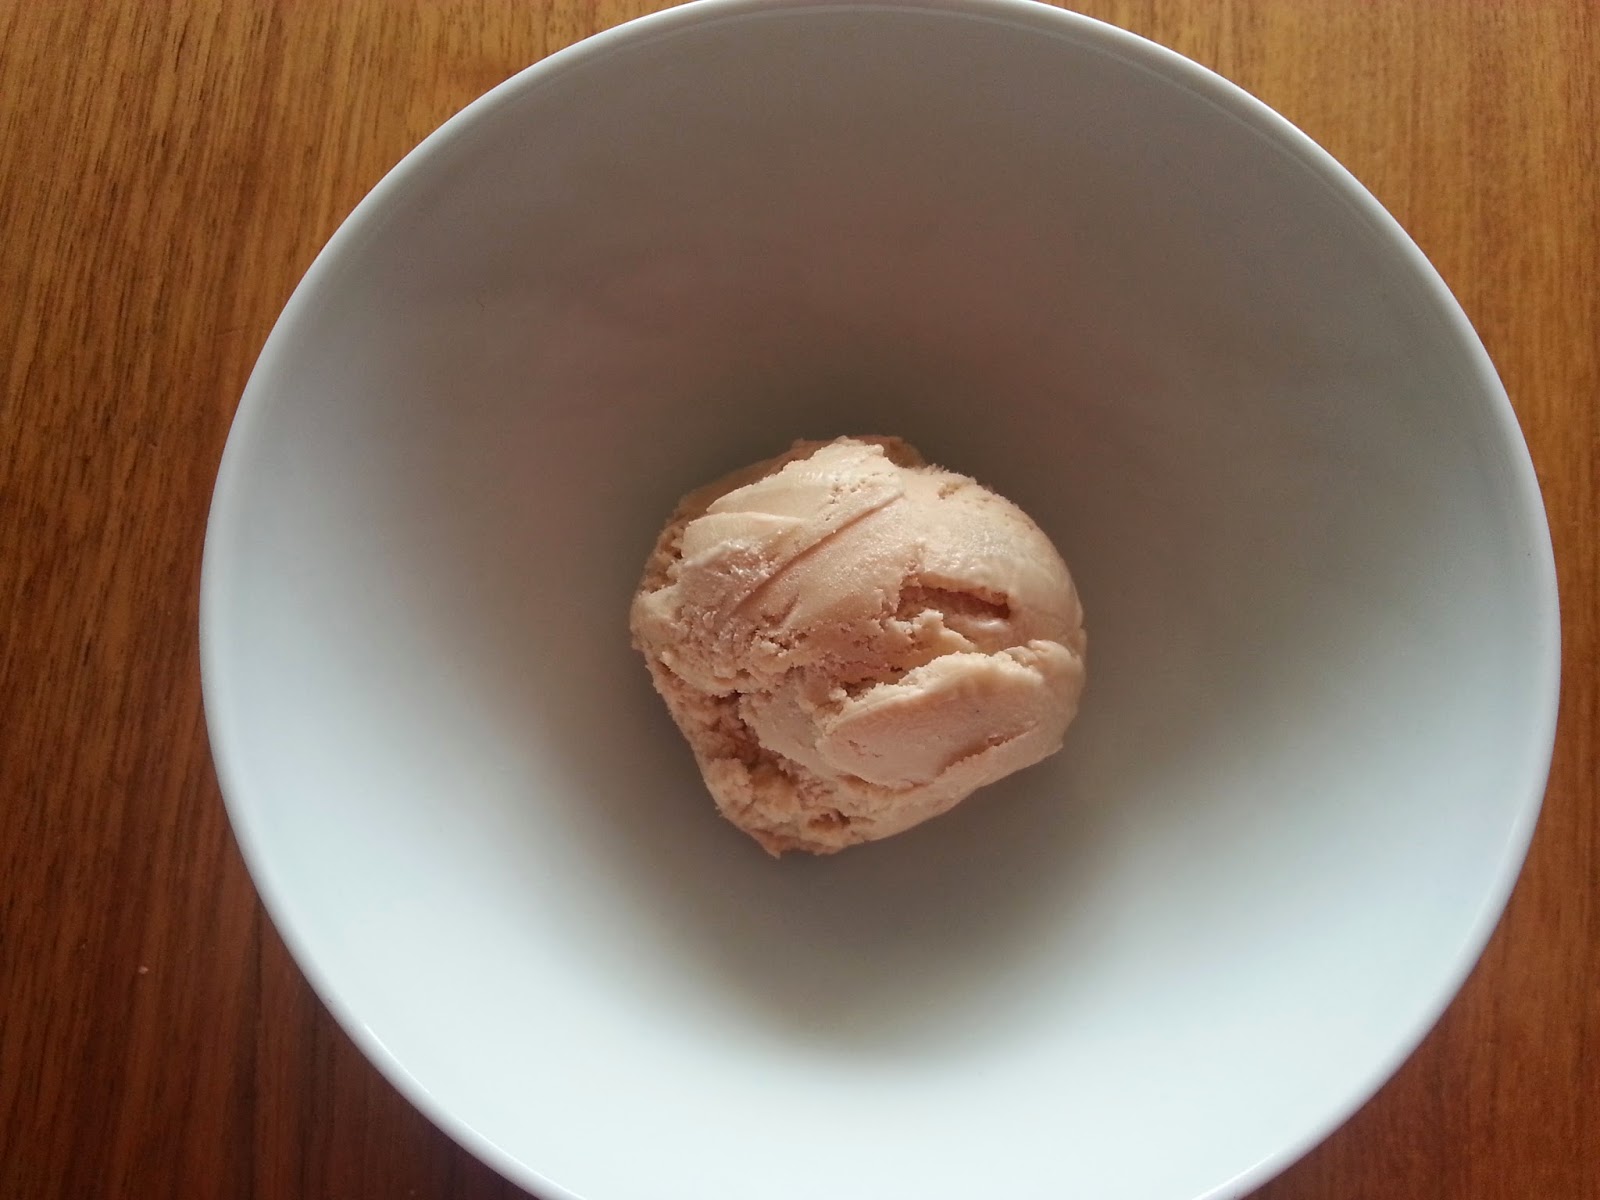
Earl grey tea flavored ice cream


Ingredients
3,5 dl Milk
1,5 dl Whipping cream
1 tbsp Glucose syrup
6 Egg yolks
1,25 dl Sugar
5 tsp Earl grey tea
1 Lemon
1 Gelatin sheet


Place the gelatin sheet in a bowl of cold water to soften.

Peel the rind of the lemon, using a vegetable peeler or similar. It needs to be thin enough that you don't get the white stuff.

Pour the cream, milk and glucose syrup into a pot and mix. Bring it to a boil, while stirring, as soon as it starts boiling, take it off the heat. Add the tea and lemon rind, give it a stir, and let it sit for 5 minutes to infuse.

Whisk the egg yolks and sugar together in a bowl.

Once the 5 minutes are up, strain the milk-mixture through a fine sieve. I found that I still had some small bits of tea leaf at this point, so I recommend straining it through a piece of muslin (or if you're REALLY patient, and/or don't have muslin, a coffee filter).

Whisk the milk-mixture into the eggs, and pour into a clean pot. Heat, while constantly stirring, until it thickens and the froth on top disappears (80-85°C, no higher).

Take the pot of the heat, and dunk the bottom of the pot into a bowl of cold water (or just fill your sink to 10cm or so with cold water, and use that). The point is to take the heat out of the pot so that the custard doesn't keep cooking.

Take the gelatin sheet out of the cold water, and squeeze it so get rid of as much water as you can. Add it to the custard and whisk it in.

Strain the custard into a clean bowl, and set in the fridge to cool.

Once it's cooled, at least to room temperature, churn in the ice cream machine.
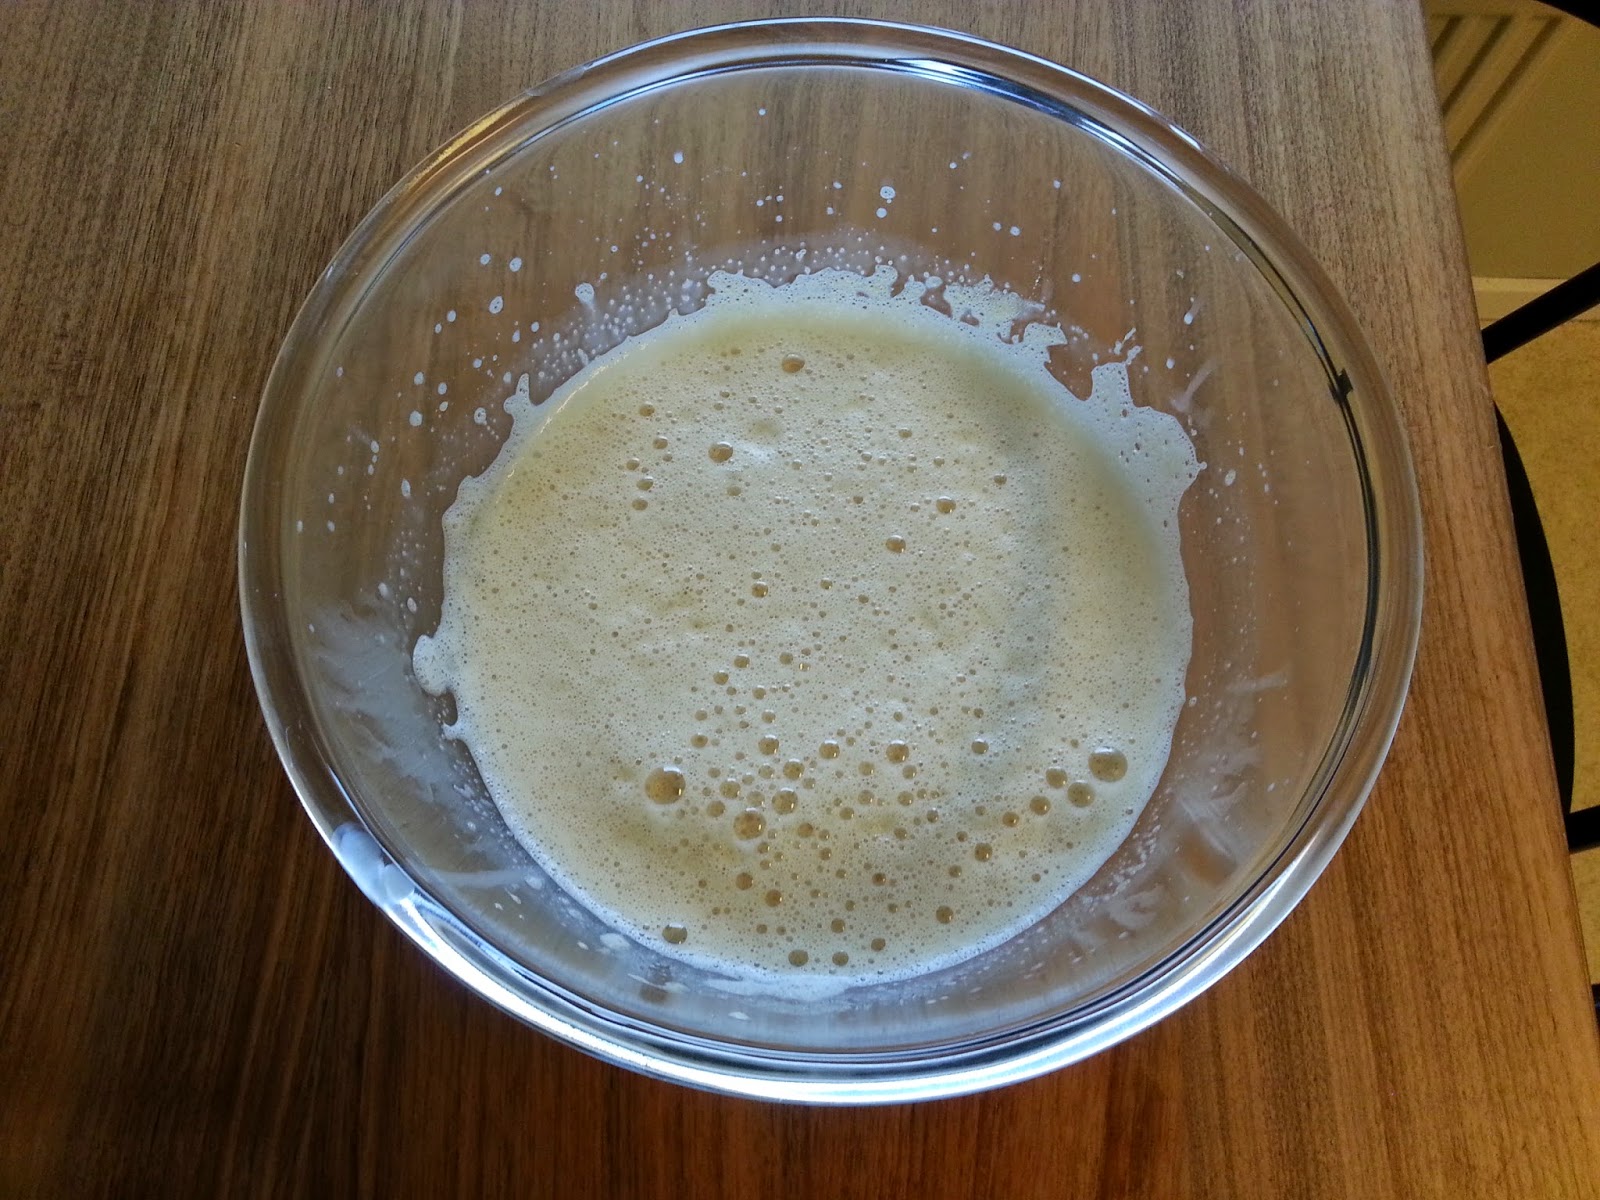
Uncooked custard
Cooked custard


Starting to churn
Almost done


Saturday, August 17, 2013

Pear Ice Cream

First off, if you make this ice cream, don't be surprised that it doesn't taste anything like the one from the supermarket. In a sense, this doesn't taste like pear ice cream, it tastes of pears. In addition, it has a nice hit of vanilla which goes nicely with the pears.

Pear ice cream is something that I loved as a child, but it's been a long time since I had it, so there's a fair bit of nostalgia here for me, but I have to say that this is, by far, the best pear ice cream that I have ever eaten.

I used a recipe from Dansukker (in Swedish), with a couple of modification of my own. It's the first time that I've used an ice cream recipe with glucose syrup in it, and it makes quite a bit of difference. The glucose doesn't really affect the taste, but it seems that it keeps the ice cream from freezing solid, the way home made ice cream tends to do. This ice cream was soft enough to eat straight away after a night in the freezer.

I increased the amounts in the original recipe by 50%, so this is quite a lot, I had to churn it in 2 batches.

Pear ice cream with vanilla


Ingredients
1120 g pears (approximately)
6 egg yolks
1 ½ dl sugar
3 dl milk
2,25 dl whipping cream
1 ½ dl glucose syrup
1 vanilla pod
Greed food coloring (optional)

To cook the pears in:
6 dl water
4 ½ dl sugar
1 ½ dl lemon juice

Ingredients


Tuesday, July 30, 2013

Chocolate ice cream with orange

I realize that I'm doing a lot more ice cream than cookies at the moment, but it is the season, and besides, I want to get some use out of the new ice cream machine.

This one is a chocolate ice cream, flavored with orange. It's never really been a favorite of mine, I made this by request from a friend at work, but I have to say, it does taste REALLY nice.

As you can see from previous posts, I've mostly made berry or fruit flavored ice cream until now. This is completely different, the texture is so much smoother and the taste so much richer.

Chocolate ice cream, flavored with orange


Ingredients
3 dl milk
2 dl whipping cream
1 dl sugar
5 egg yolks
130g dark chocolate
1/2 a vanilla pod
2 tbsp honey
1 orange
 
Ingredients


Sunday, July 21, 2013

Sugar free Raspberry and blueberry ice cream

Since my grandmother is diabetic, I thought I would make some ice cream for her (apparently the ones in the shop are a little boring).

I use a fairly standard ice cream recipe, just replacing the sugar with artificial sweetener. I have to say, the results aren't bad. Artificial sweetener (at least the one I used, which is aspartame) don't really match proper sugar in terms of flavor, but that said, it isn't too far off when used for something like this.

The reason it turned out to be raspberry and blueberry flavored is simply that I had about half as much of each as I would have needed to make either raspberry or blueberry ice cream. Also, it is a very good combination.

Sugar free raspberry and blueberry ice cream


Ingredients
125g raspberries
125g blueberries
2 tsp lemon juice
4 egg yolks
200 ml milk
100 ml + 100 ml whipping cream
1/2 a vanilla pod
90 ml + 75 ml artificial sweetener (in a concentration that matches sugar by volume)

Ingredients


Sunday, July 14, 2013

Raspberry Ice Cream

I had to try out my new ice cream machine, and this is the recipe that I decided to use first.

Unlike the orange ice cream I made the last time, this is not a "simplified" ice cream recipe, but the full-on, proper way of making ice cream. Don't despair though, while it is more complicated that the other one, that doesn't mean that it's difficult. Basically, the way this ice cream is made, is to make a custard, which you then flavour and freeze.

Anyway, I love raspberries, and this ice cream tastes of them, a lot. It isn't a very sweet ice cream, so it's a little more of an adult flavour. Don't get me wrong, it isn't sour, it just isn't overly sweet, which I think helps to showcase the flavour of the raspberries.

Raspberry ice cream


Ingredients
200 ml milk
200 ml whipping cream (100 + 100 ml)
4 egg yolks
75g + 5 tbsp sugar
250g raspberries
juice of 1/3 of an orange

Ingredients (minus the orange, sorry, I forgot)


Friday, July 12, 2013

Wilfa ICM-C15 Review

I just got a new ice cream machine! You can get it here.

To try it out, I made a raspberry ice cream, recipe is coming soon.

The old one was of the kind where you put a part of it into the freezer for at least 24 hours before using  it, which was a little annoying, since you needed to plan ahead and you couldn't make more than one batch per day. This one on the other hand, has a built in compressor that freezes the ice cream, so no need to pre-freeze anything and you can make as many batches as you want in a row.

It looks rather nice, with it's aluminium shell, and it feels like it is of good quality.

Wilfa ICM-C15


Included in the box is the machine itself, an instruction manual, a measuring cup, and a spatchula-like thing.

Disassembled


It has some pretty smart features. The container for the ice cream is fitted with a handle, to make it easy to remove, and the spatchula-like thing is just the right size for getting the ice cream out of the bowl. Once started, it has a timer, so it will stop automatically when it runs out, but it will continue to keep the ice cream frozen for 1 hour after that. That means that if you forget to check it, it won't melt immediately. The default timer setting is 1 hour, but when I tried it it only took about half of that.

While the machine is running, the display shows remaining time and the current temperature (of the machine, not the ice cream).

There are a few downsides to this device. The aluminium surface collect fingerprints really easily, the machine is big and heavy, and it's quite noisy.

The size is 402 × 335 × 281 mm, so it takes up a significant amount of space, and you probably won't want to move it every time you want to use it, since it's pretty heavy. It's "feet" seem to be designed to make it easy to slide on a surface though, which is quite nice.

The noise-level is significant, but not unbearable. I'm including a video of it working, so you can get some idea.


All in all, I have to say that I would recommend the Wilfa ICM-C15. It works as advertised, has some nice features, and the result is delicious.

Machine in action
Done


The spatchula is helpful


Friday, May 24, 2013

Orange ice cream

As I'm having a birthday party this weekend, I thought I would make some ice cream. This recipe is super easy, to the point that it might even be called a "cheat", but it is still my favorite recipe, in terms of flavor, for ice cream. I'm not sure if it is because I just like orange as a flavor, or if it is because I have yet to find a commercial orange ice cream that actually tastes of oranges.

Either way, this ice cream DOES taste of oranges, and it is simply delicious.

Tip 1: If you don't have an ice cream maker (and don't want to buy one), you can skip that step and just put the mixture in a container and place it in the freezer. Give it a stir 2-3 times/hour for a few hours. Because it will freeze slower, the ice-crystals will be bigger and the ice cream will not be quite as smooth, but it will be just as delicious.

Ingredients
2 eggs
2 dl icing sugar
1 ½ dl freshly squeezed orange juice
grated peel of 1 orange
3 dl whipping cream

Ingredients