Thursday, April 24, 2014

Earl Grey Tea Ice Cream

Earl Grey Tea Ice Cream is something that I've been thinking of trying for a little while now. It just seemed to me to be a flavor that should work... And what do you know, I was actually right!

Bergamot tea, with a hint of lemon, in a smooth ice cream, turns out to be really great. Just strange enough to make it interesting, but not so strange that it no longer corresponds to our idea of what ice cream is.

This is the first time I've used both glucose syrup and gelatin in ice cream as well. Neither is strictly necessary, but they really does give the ice cream a better texture.

Earl grey tea flavored ice cream


Ingredients
3,5 dl Milk
1,5 dl Whipping cream
1 tbsp Glucose syrup
6 Egg yolks
1,25 dl Sugar
5 tsp Earl grey tea
1 Lemon
1 Gelatin sheet


Place the gelatin sheet in a bowl of cold water to soften.

Peel the rind of the lemon, using a vegetable peeler or similar. It needs to be thin enough that you don't get the white stuff.

Pour the cream, milk and glucose syrup into a pot and mix. Bring it to a boil, while stirring, as soon as it starts boiling, take it off the heat. Add the tea and lemon rind, give it a stir, and let it sit for 5 minutes to infuse.

Whisk the egg yolks and sugar together in a bowl.

Once the 5 minutes are up, strain the milk-mixture through a fine sieve. I found that I still had some small bits of tea leaf at this point, so I recommend straining it through a piece of muslin (or if you're REALLY patient, and/or don't have muslin, a coffee filter).

Whisk the milk-mixture into the eggs, and pour into a clean pot. Heat, while constantly stirring, until it thickens and the froth on top disappears (80-85°C, no higher).

Take the pot of the heat, and dunk the bottom of the pot into a bowl of cold water (or just fill your sink to 10cm or so with cold water, and use that). The point is to take the heat out of the pot so that the custard doesn't keep cooking.

Take the gelatin sheet out of the cold water, and squeeze it so get rid of as much water as you can. Add it to the custard and whisk it in.

Strain the custard into a clean bowl, and set in the fridge to cool.

Once it's cooled, at least to room temperature, churn in the ice cream machine.

Uncooked custard
Cooked custard


Starting to churn
Almost done


Sunday, April 13, 2014

BankID with card reader on LMDE

Update: This no longer works. It seems that the changes done for BankID have now gotten to the point that banks etc have upgraded and this old version no longer works...

I've previously made guides for doing this on Ubuntu 13.04 and 13.10. Today I installed LMDE (Linux Mint Debian Edition), and getting BankID to work there had some additional difficulties.

I know... BankID is very soon ending the support for Linux completely, but for now I want to be able to use it. So here's how.

The main problems under Debian, is that nspluginwrapper and one if the dependencies of the driver for the card reader (the i386 version) have been removed from the repositories. That means that there are a couple of fairly "ugly" tricks that I had to do in order to get this to work. Doing this means that some packages will not be updated, so if you don't feel comfortable with that, don't do this.

There is a lot of good information on the Ubuntu wiki for Nexus Personal, but since it tries to encompass everything, I find it a little difficult to follow. It's a good resource for debugging though.

The card reader that I have is a Digipass 920, so if you are using something else, you may need to change out the driver for the one appropriate for you device.


Do keep in mind that the BankID application will not be automatically updated. If you need to update to a new version you'll have to download and install it again as described below.
  • Get the BankID application from https://install.bankid.com/Download?defaultFileId=Linux (the website blocks 64-bit Linux from the "regular" download procedure, so if you're downloading from that you need to use this direct link)
  • Unzip the application
  • Open a terminal and go to the directory that you unzipped the application to, and type in the following command (Please note that the version number will change):
    • sudo ./install.4.19.1.11663.sh i
  •  Enable multiarch support
    • sudo dpkg --add-architecture i386
      sudo apt-get update
  • Install some needed packages
    • sudo apt-get install pkcs11-data:i386 libstdc++6:i386 libidn11:i386
  • Next we need to install nspluginwrapper, as I stated above, this is no longer part of the standard repositories, so it requires a bit more work. Basically we are adding an older repository in order to install it. You could also install it from source, but that would probably leave you with some problems with regards to dependencies, this is (in my opinion) the easiest way
    • open the config file for your repositories
      • sudo gedit /etc/apt/sources.list 
    • Add the following line to it
      • deb http://ftp.au.debian.org/debian/ squeeze main contrib non-free
    • Save and close
    • We can now install nspluginwrapper with its dependencies
      • sudo apt-get update
      • sudo apt-get install nspluginwrapper
  • Now to install the driver for the card reader. The actual driver is still there, but not one of its dependencies, so we will need to install that manually first
    • Now we can install the driver
      • sudo apt-get install pcscd:i386
  • The repository that we added in order to install nspluginwrapper conflicts with Linux Mints repository, so we need to remove it
    • Open /etc/apt/sources.list, in the same as as above, and remove the line that we added to it
  • Go back to the terminal and give the following command:
    • sudo nspluginwrapper -i /usr/local/lib/personal/libplugins.so
  • Start/restart Firefox, go to Tools -> Addons and check that you can see Nexus Personal under Plugins
  • Give it a try, it should now work

Friday, April 11, 2014

Strawberry Pie

This is probably my favorite thing to eat in the world. It's my grandmothers recipe, and it is the taste of summer to me.

Strawberry pie


Ingredients - Pastry
100g Butter
1,5 dl Sugar
1 Egg
3 dl Flour

Ingredients - Filling
1 dl Sugar
2 tsp Vanilla sugar
1 Egg
3 dl Creame fraiche
300-350g Strawberries


Start with the pastry. Whisk room temperature butter and sugar until fully incorporated. Whisk in the egg. Add the flour and mix with your hands to an even dough. Wrap in plastic foil and place in the fridge for about 30 minutes.

Butter and flour a pie mold (Smear the inside with butter, then shake some flour around inside it so that it covers everything). If you have one, you can use a "proper" one, here I'm using the disposable aluminium kind (23cm).

Place the pastry dough in the mold, and use your hand to press it into and even sheet, covering both the bottom and the sides. Make sure that the dough goes up over the edges a little, since it tends to slip down during the blind baking.

Bake in the middle of the oven, at 200°C, for 10 minutes. If the sides do sag a bit, don't panic, it's not the end of the world, it'll still taste nice.

For the filling, mix the sugar and vanilla sugar, then whisk in the egg, and finally the creame fraiche. Pour the filling into the mold, then add the strawberries. If the strawberries are small, you can use them whole, otherwise cut them in half. Dot them throughout the pie, basically as many as you can fit without placing them on top of each other.

Bake in the middle of the oven, at 200°C, for 20-25 minutes, until the edges of the filling just starts to color. It'll still be rather liquid in the middle, don't worry, it'll firm up as it cools.

Let the pie cool a little, then place in the fridge to cool completely. This pie should be enjoyed cold.

Butter and sugar, a good start
Add an egg


Finished pastry dough

Buttered and floured


Dough in mold
After blind baking


Filling
Added filling


Added strawberries
Just needs to cool

Thursday, March 13, 2014

Danish Pastries

Danish pastries  or "wienerbröd" as they're called in Swedish, are made with a kind of puff-pastry, and can be filled with a variety of fillings. You can use, for example, a thickened vanilla custard, raspberry jam or almond paste. It can then be topped with some frosting or chocolate. They also come in many different forms. This is my first time making Danish pastries, so I've gone with a very simple folding of the pastry, and my favorite "additions", a thickened vanilla custard filling, and drizzled with chocolate.

Now, in most of my recipes I say how easy it is to make, and how quick it is. In this case though, that simply isn't true. This pastry is quite difficult to make, or at least, to make it well. It's also quite time consuming, and laborious. To be honest, mine did not turn out perfect. That said, imperfect as they were, they still looked and tasted very nice, so don't despair too much.

Tip#1 These pastries are very much best when freshly made, a night in the fridge will severely diminish (though not completely destroy) their deliciousness.

Danish Pastries


Ingredients
50g Yeast (fresh)
2,5 dl Milk
1 Egg
0,5 tsp Salt
2 tbsp Sugar
7-8 dl Flour
300g Butter

1 Egg for brushing
Thickened vanilla custard (shop-bought, or make your own)
Chocolate for garnish

Ingredients


Tip#2 For starters, make sure that your ingredients are cold, you don't want it to get to hot or rolling will become more difficult than it already is (also, the dough might start to rise early). 

Tip#3 Be very gently when rolling out this dough, you want to avoid having any holes in the dough. It is (it seems to me) virtually impossible not to have this happen at any point in the process, but try to avoid it as much as possible.

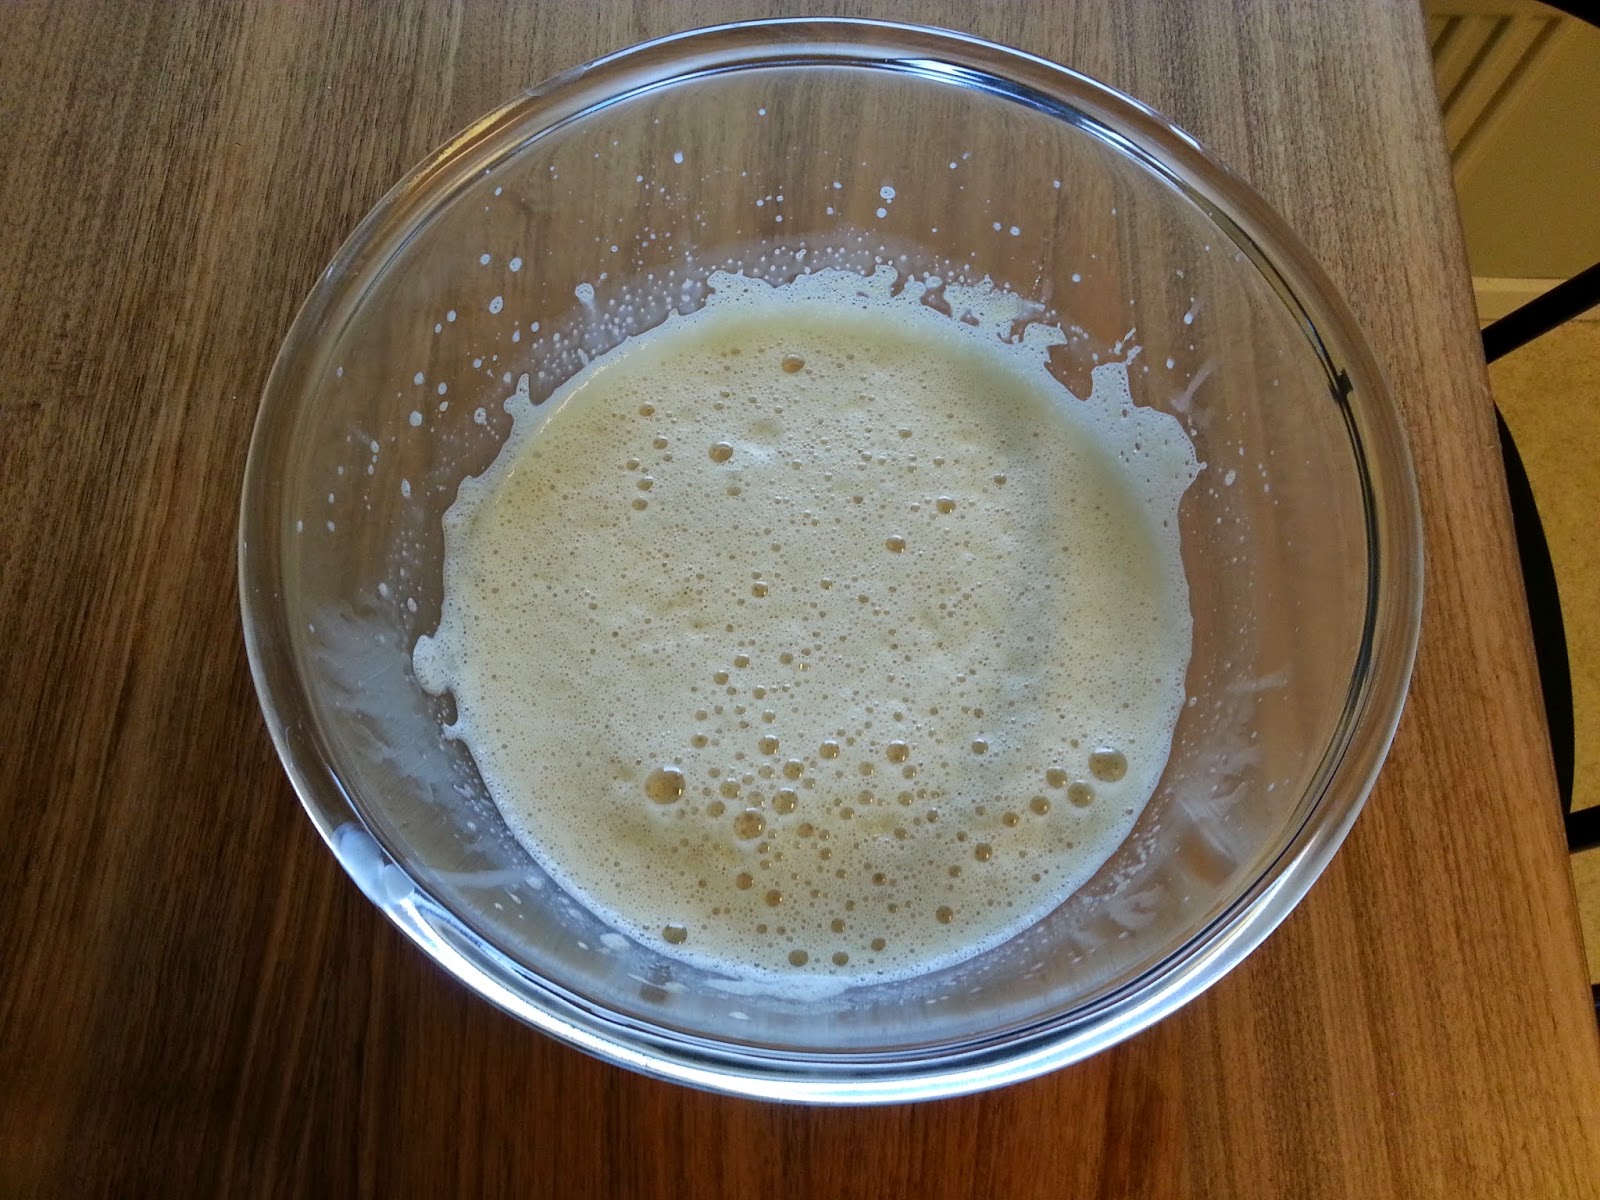
Crumble the yeast into the milk, and use your fingers to make it dissolve. Add the egg, salt, sugar and flour (start with about 7 dl, and see if you need more), and mix into a dough. Try not to kneed the dough more than necessary at this stage, we don't want the gluten to develop. The finished dough should be slightly sticky, but workable, ie not too much. Wrap in cling film and leave in the fridge for about 15 minutes.

Get the butter out of the fridge, and slice it into 9 slices, about equal. Put the slices on some grease proof paper and let it come to room temperature.

Lightly flour the table and get the dough from the fridge. Now, we want the dough to be rectangular in shape, and here is were a learned a neat little trick while doing research for this bake. Form the dough into a ball on the table, cut a cross, about halfway down into it, now fold the "flaps" out. Presto, a square piece of dough!

Roll out the dough to about 30x40 cm. Place the butter slices on one half of the dough, leaving 2-3 cm on each side free. Fold the edges of the dough over the butter, then fold the other half of the dough over that. Pinch the edges together so that they are sealed.

Turn the dough 1/4 turn, so that the folded edge is towards you. Gently roll it out to about 1 cm thickness, trying to retain the rectangle shape. Fold the dough in 3, ie 1 third folds in to the middle of the remaining 2 thirds, and the other third folds over that. turn the dough 1/4 turn again, and repeat the rolling out and folding. Wrap in cling film and put it back in the fridge again for about 15 minutes.

Take the dough out of the fridge, repeat the rolling out and folding once more, and then finally roll it out for the last time. Cut the dough in half, wrap each part in cling film and place in the fridge for about 15 minutes.

Take one part of the dough out of the fridge, roll it out to a square (or the nearest approximation) 36 by 36 cm in size. Cut the dough into 9 by 9 cm squares, place on a baking tray, covered with baking paper. Put a dollop of thickened vanilla custard in the center of each, then fold the corners over the center, and press down in the center so that they stick. Cover with a kitchen towel, and let rise for about 1 hour. Repeat for the second sheet of dough.

Whisk the egg, and brush the pastries with it. Bake, in the middle of the oven, at 250°C, for about 9 minutes. Let them cool, at least to the point where they are not to hot to handle anymore.

Melt some chocolate in a bain-marie (in a bowl over boiling water), and drizzle it over the cooled pastries.

The whole ball of... dough?
Cut a cross to make a square

Fold the flaps out

Rolled out

Add butter

Fold the edges over

And seal

Rolled out again

9x9 squares

Add custard and fold

Baked


Saturday, March 1, 2014

Lemon Hearts

This was originally supposed to be  "lemon stars", but I found I don't have a star shaped cookie cutter, so hearts it is. They are essentially lemon shortbread biscuits. This is a cookie best suited with tea or similar, they're a bit to dry to have on their own. The flavor is quite nice though, there's a definite taste of lemon.

This recipe is from an old-timey cookbook, which means that it's very short on details. For example, it doesn't state how long the cookies take to bake, it just says "until they have a nice color". That, coupled with a printing error, where it says to make the cookies 2 cm thick, when (I think) it should be 1/2 cm, means that I had to do some guesswork to make these. Rest assured though, I'm filling in all those blanks here and letting you know exactly how I made them.

Lemon Hearts


Ingredients
300g Flour
200g Butter
100g Sugar
1/2 Egg white
Juice of 1 lemon

1 Egg
Confectioners sugar

Ingredients


Whisk the 1/2 egg white to firm peaks.

Place the flour on the table, and make a well in the center. Put the butter, sugar, egg white, and lemon juice into the well and bring together into a dough.

This dough it very soft and sticky, so wrap it in cling film and place in the fridge for at least 1 hour in order to make it easier to handle.

Roll the dough out, between 2 pieces of parchment paper, to a thickness of 1/2 cm, and cut out the cookies with a cookie cutter. Take the remains of the dough, and repeat until there isn't enough dough left for any more cookies.

Place the cookies on a baking tray lined with parchment paper. Bake, in the middle of the oven, at 200°C, for 10-15 minutes. Keep a close eye on it towards the end, 1 extra minute can be the difference between beautiful and burnt. The cookies are done when the edges are golden brown.

Put together
Dough


Pre-oven
Post-oven


Tuesday, February 25, 2014

Black screen while playing game on ZSNES in XBMC

A while back, I posted a guide for setting up ZSNES SNES emulator on a Linux XBMC setup.

I noticed that after 10-20 minutes, the screen would go black, but a keypress would bring it back. I don't really play that much, and I didn't find an immediate solution to the problem, so I just let it lie. I happened to stumble upon the answer the other day, here. It's a little out of date though, in that it uses xorg.conf, so I'm putting an updated version here.

The problem is apparently X going into sleep. I'm not really sure why this happens when the emulator is on top, but not when XBMC is, but there is a fairly easy way to solve it.

  1. Open a Terminal
  2. Create a new Xorg config file: /etc/X11/xorg.conf.d/30-xnosleep.conf
  3. Place the following text in it:
Section "ServerFlags"
Option "BlankTime" "0"
Option "StandbyTime" "0"
Option "SuspendTime" "0"
Option "OffTime" "0"
EndSection
  1. Save, reboot, and enjoy "The Legend of Zelda: A Link to the Past" without interruptions.
 

Tuesday, February 11, 2014

Wienerstänger

These cookies are small, sweet, simple and delicious. They work particularly well with coffee. Try to have to have just one... Go on, try it.

I'm using homemade raspberry jam for the filling, but that only because the pips always annoys me. Really, any store-bought raspberry jam will work. If you're like me and don't like the pips, making the jam is super easy. Take raspberries, almost as much sugar as berries (by weight) and some pectin, bring it to the boil in a pot, and let it cook on a slow boil for about 10 minutes. Pass through a sieve, pour into a sterilized jar (Just rinse the jar out with boiling water), and leave to cool in the fridge.

Wienerstänger


Ingredients - Pastry
125g Butter
0,75 dl Sugar
1 Egg 
3,5 dl Flour
0,5 tsp Baking powder

Ingredients - Filling
Raspberry jam
1 dl Powdered sugar
0,8 tbsp Water


Whisk the sugar and room temperature butter until combined. Whisk in the egg. Mix the flour and baking powder, and add to the rest. Use your hands to bring it together into a soft dough.

Wrap the dough in plastic wrap, and leave to rest in the fridge for 30-60 minutes.

Cut the dough into 3 equal pieces, and shape them into balls. Roll them out into quite thin rolls, the same length as the over tray. Cover the oven tray with baking paper and place the rolls on the tray.

By pressing down with a finger, make an indentation along the length of the rolls, a sort of grove. Spread the raspberry jam into the indentation.

Bake in the middle of the oven, at 175°C, for 15 minutes. They'll seem quite soft, but don't worry, they'll firm up when they cool down.

After taking the cookies out of the oven, you need to wait a couple of minutes before spreading the frosting on top. You want them to cool a little, but not too much. Generally, the time it takes to make the frosting should be about right. To make the frosting, just whisk the powdered sugar and water together until there are no lumps. The frosting should be quite thick, but still runny. You might need to adjust the water/sugar ratio slightly.

Spread the frosting over the jam-covered part of the cookies. Wait another minute or to for the frosting to start to set. Cut the cookies, on an angle, about 1 inch wide. Place in the fridge for the frosting to set completely.


Rolls, the length of the tray
With the groove

Filled


Baked

Frosted

Cut